


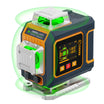
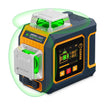








3D vs 4D Laser Level, and What the Fourth Plane Actually Adds

It's been years since you last did anything to the house, and the things you've been putting up with have finally piled up. The noise through one wall means soundproofing board, with clips along the wall and the ceiling. The bathroom needs new tile. There's a shed to build out back. A 3x360 laser looks like it'll handle all of that. Then you get to the floor, the leveling compound, the joists, the wood flooring, and you read that you need a 4x360, a 4D laser level, for floors because it has an extra laser on the bottom. Then you read that you don't. Then you find a 3x360 listing with a video of it being used for flooring. So which is it?
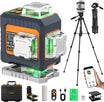
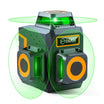
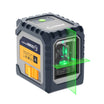
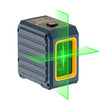
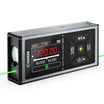
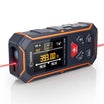
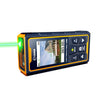
Rather than pick a side, we went back to the tools. We put the spec sheets for our own 3D and 4D laser levels, the CM-701 and the CM-S04, next to each other, set the CM-701 down on a carpeted floor to see where its line actually landed, and pulled up the flooring industry's flatness limits to see how close to the floor a line has to be. We started with the obvious question. What are those four extra lines, and where do they come from?
Where the Four Extra Lines Come From
Two terms first, since the answer uses both. A plane is the flat sheet of laser light the tool sends out, and where that sheet hits a wall or floor you see it as a line. "3x360" means three planes that each go all the way around, and "4x360" means four.
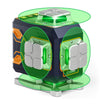
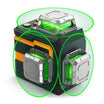
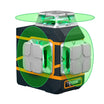
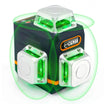
The four extra lines come from the base. The extra plane on a 4x360, the 4D, comes out of the bottom of the tool and runs level all the way around the room [2]. A 3x360, the 3D, has only one level plane [1], and it comes out near the top of the head. Set a 3D on the floor and that line still sits a few inches up the wall, which is low enough to check a floor with a ruler. What the 4D adds is a line lower than that. Sit it on the floor and its bottom line runs just above the floor itself, right where the floor meets the wall, and that's where a handful of jobs need it.
A 4D doesn't trade the top line for a bottom one, either. It keeps the top line and both vertical planes a 3D has and adds the bottom one [1][2], so crown molding, cabinets and anything else you'd run off a high line work the same way.
That's also where the 12 vs 16 lines on the box come from. Each 360° plane draws one loop around the room, and that loop gets counted as four lines, one on each surface it crosses.
- A level plane crosses all four walls, so it counts as four lines.
- A vertical plane crosses two facing walls, the floor and the ceiling, which is also four lines.
A 3D has one level plane and two vertical ones, which makes 12 lines. A 4D adds the second level plane and gets to 16 [1][2], so 3D vs 4D is the same count said another way. In use, the bottom line rides with the tool like the rest. Set a 4D on a tripod for wall work and every line goes up with it, the bottom one included.

The line count can look off the first time you switch one on. Pointed at a wall, 3D shows you one horizontal line and one vertical line. That's exactly what you see in the photo we took of the CM-701 sitting on the carpet, with a second vertical line on the floor crossing it at right angles.
4D adds a low horizontal line on top of that. The rest of the lines fall on other walls, the floor, and the ceiling.
So a "16-line" laser level might look like it only has a few lines.
The line's width, meaning how thick it looks where it lands on the wall, can also give you a scare. Set a 4D on the floor a few feet from a wall and the vertical line can look fat near the bottom and thinner as it climbs. It's worth one check before you send it back. Move the tool farther from the wall and raise it on a tripod to around chest height. From there the line should look about the same thickness from bottom to top. If it still swells and tapers, that's worth a return while you're still inside the return window.
What the Extra Money Buys in a 3D vs 4D Laser Level
| CM-701 | CM-S04 | |
|---|---|---|
| Type | 3D (3x360°, 12 lines) | 4D (4x360°, 16 lines) |
| Planes | 1 level + 2 plumb | 2 level + 2 plumb |
| Listed accuracy | ±1.5 mm at 5 m | ±1.5 mm at 5 m (±3 mm at 10 m) |
| Self-leveling range | 4° ±1° | ±3 to 4° |
| Battery | Built-in, 6 to 30 h depending on power setting | Two swappable USB-C packs, up to 6.5 h each |
| Line control | One button per line | Remote or app, with an LCD for mode and battery |
| Price on cigman.com (Nov 2026) | $149.99 | $239.99 |
| Best for | Wall and ceiling work: framing, cabinets, shelves, pictures | Work right at floor level as well: baseboards, wall and floor tile |
Side by side on a spec sheet, a 4D adds four lines over a 3D, the bottom plane, and not much else. It doesn't have to be any more accurate. Our two, for example, are both rated ±1.5 mm at 5 m [1][2]. Battery, screen and app change from model to model too, not because of the plane count.
In normal use, the CM-S04 runs up to 6.5 hours on each pack, and the CM-701 runs 6 to 30 hours depending on the power setting [1][2]. On either one, a charge goes further if you switch off the planes you aren't using and dim the beam. If all you need is one line, say the bottom one along a baseboard, that's the only one worth having on. On a long day with everything running, the CM-S04's second pack is there to swap in [2].
Jobs Where the Bottom Line Helps, and Where It Doesn't
Start with a job where the bottom line barely matters, which is checking a floor for flatness. Here a 3D and a 4D work the same way. Set either one on the slab, the bare concrete floor, and its lowest level line runs at one height all the way around the room, so you can stand a ruler on the floor anywhere and read off where the line crosses it. Say you're about to lay wood flooring over concrete. Walk the ruler across the room and note each reading. Where the floor dips, the ruler sits lower and the line reads higher on it. Where the floor is high, the line reads lower. The 4D's line just sits lower on the ruler, a few inches lower than a 3D's. When you're done, look at the biggest gap between your readings. For wood flooring over concrete, NWFA allows no more than 1/8 inch within a 6-foot radius, or 3/16 inch within a 10-foot radius [3], so that gap needs to come in under those numbers.
When you take those readings, pick one edge of the laser line, the top or the bottom, and read that same edge every time. A laser line isn't razor thin. It's a few millimeters wide on its own, and the limit above only gives you about 3 mm of room, since 1/8 inch is roughly 3 mm [3]. So if you read the top edge on one part of the floor and the bottom edge on the next, the two readings can differ by the width of the line even where the floor is flat. Level the floor to those numbers and you can leave one part higher than the next, and the new floor won't sit flat. Once the floor passes, the flooring and tile guide picks up with layout.
Laying out the planks comes next, and that starts from a master line, the straight reference the first row of planks follows. It comes from a vertical plane, so a 3D throws it just as well [1].

The bottom line comes into its own once the planks are down and you fit the baseboards. A 3D on the floor puts its line around the top of the baseboard, as our photo shows, so finding the low spots along the wall means measuring down from that line every few feet. With a 4D on the floor, the low line runs at one height just above the floor along the whole wall. Wherever the gap between that line and the floor grows, the floor drops away there, and you see it at a glance. Because that line runs so close to the floor, sweep first, since a bit of debris between the tool and the wall can block it.
Tile is the second place the bottom line earns its keep. On a wall, the first row of subway tile needs a level reference right at its bottom edge, just above the floor. A 3D's line, even with the tool on the floor, lands partway up that row, while the 4D's low line sits right where the row starts. Once floor tile is down, that line running across the surface also shows you a tile sitting higher than its neighbors that needs to be pressed back down.

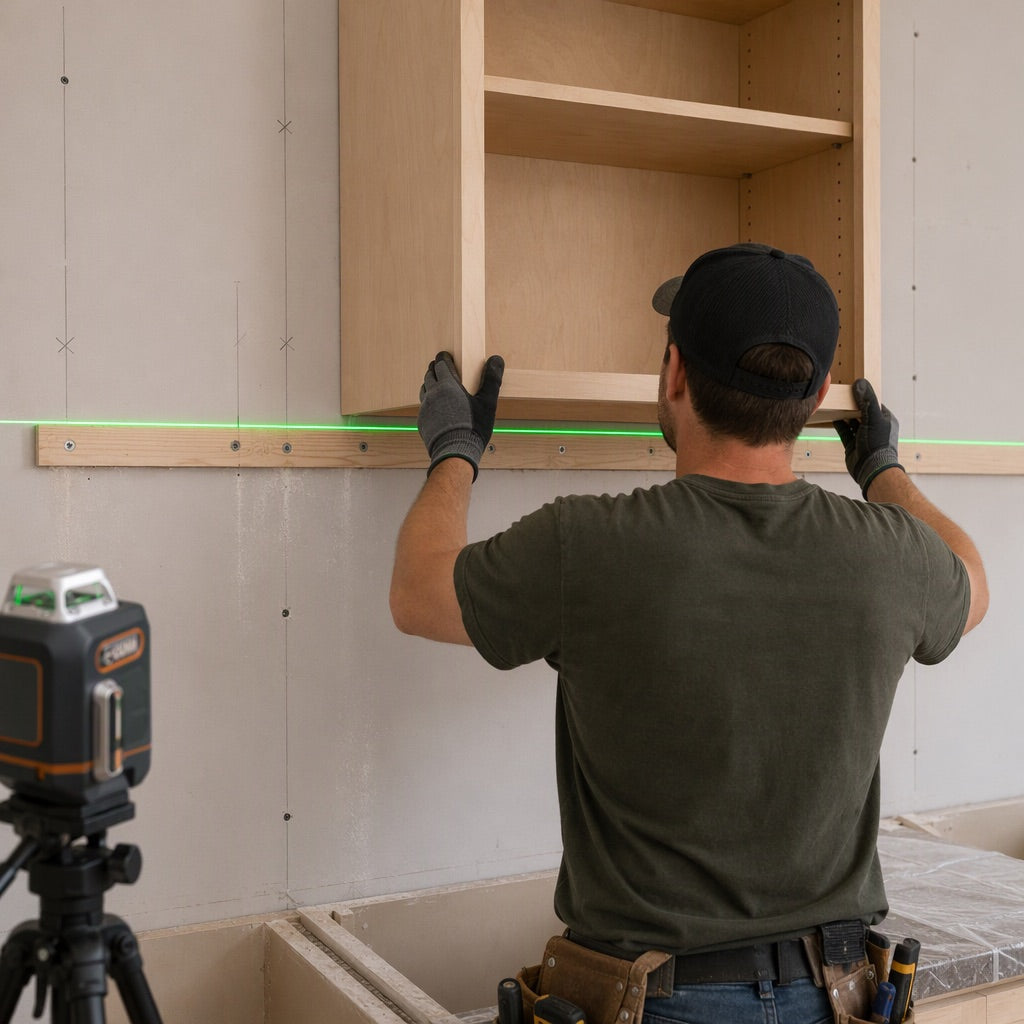
Walls and ceilings are a different story. Setting frames, mounting cabinets, putting up shelves, installing trim, laying out ceiling joists. All of that depends on the top horizontal line and the two vertical planes, and the 3D has all of those[1].
If you're spacing recessed lights across a 25-foot ceiling or hanging a row of picture frames on a wall, you don't need a line on the floor. The bottom line up high isn't helping you either. Both horizontal lines come out of the same body[2], so if you raise a 4D up to the ceiling, the lower line comes up with it.
It's easy to assume the two level lines on a 4D can be aimed separately, one at the floor and one at the ceiling. Neither line moves up or down on its own, so the gap between them stays fixed [2]. The second line is there to put a level reference down at the floor, not to span the room.
Both kinds also give you a cross on the floor and another on the ceiling. Where the two vertical planes meet, they draw an X on the floor right under the tool and a matching X on the ceiling straight above it. On the floor, the tool's own body sits on top of that lower X, so for layout work put the tool on a tripod. Say you're laying out can lights. Mark each spot on the floor, set the tripod so the lower X lands on your mark, and the upper X on the ceiling shows where to cut. That saves measuring over from the walls while you're up a ladder.
3x360 vs 4x360: How to Choose by the Work You Do
So the real question is whether you need a level line down near the floor. If you spend most weeks on baseboards or wall and floor tile, the 4D gives you a level line just above the floor, where a 3D's line sits a few inches up. If you mostly work on walls, a 3D will do the job.
By the way, CIGMAN built the CM-S04 for interior contractors and experienced DIYers taking on whole-home renovations [2]. If that sounds like you, check it out.
3D or 4D: pick by the work you do

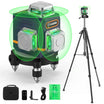
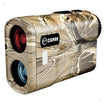
CIGMAN CM-701 3x360° Laser Level
- 3x360° green laser, 12 lines: 1 level + 2 plumb planes.
- ±1.5 mm at 5 m.
- Built-in battery, 6 to 30 h depending on power setting.

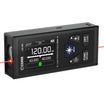
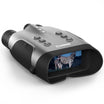
CIGMAN CM-S04 16 Lines Laser Level with LCD Display
- 4x360° green laser, 16 lines: 2 level + 2 plumb planes.
- ±1.5 mm at 5 m (±3 mm at 10 m).
- Two swappable USB-C packs, up to 6.5 h each.
If all you hang is a shelf or a few pictures a year, you can skip both. Even a 3D gives you three full 360° planes you'd mostly leave off [1], and a basic cross-line laser, the kind that throws one level and one vertical line onto the wall in front of it, will do. The laser level buying guide covers those.
Floor Checks With a 3D
If you go with a 3D, do your floor checks with the tool sitting on the floor, not up on a tripod. In our own photos of the CM-701 on carpet, its line sits a few inches up the wall, around the top of the baseboard, and that's low enough to read off a ruler the way the floor section above describes. Raise it on a tripod and the line climbs out of a ruler's reach, and every reading turns into measuring down from the line with a tape.
Sometimes the tool has to stay up high, say because it's also carrying lines for the walls. Then a story pole saves the tape, a straight stick held upright and marked against the laser line. Leave the laser where it is, since moving it changes the height of the whole line. Stand the stick on the floor, mark where the line crosses it, and add marks 1/8 and 1/4 inch above and below. Then carry the stick around the room. A line above your mark means a low spot, and a line below it means a high spot. Once you've been around the room, the biggest gap between the line and your mark is the number to hold up against the NWFA limits above [3].
That gets you the same flatness readings a 4D would. The 4D only pulls ahead on work right down at floor level, like the gap under a baseboard or the first row of wall tile, because even sitting on the floor, a 3D's line lands higher up the wall than that work needs.
3D vs 4D Laser Level FAQ
Does a 4D laser level work better outdoors?
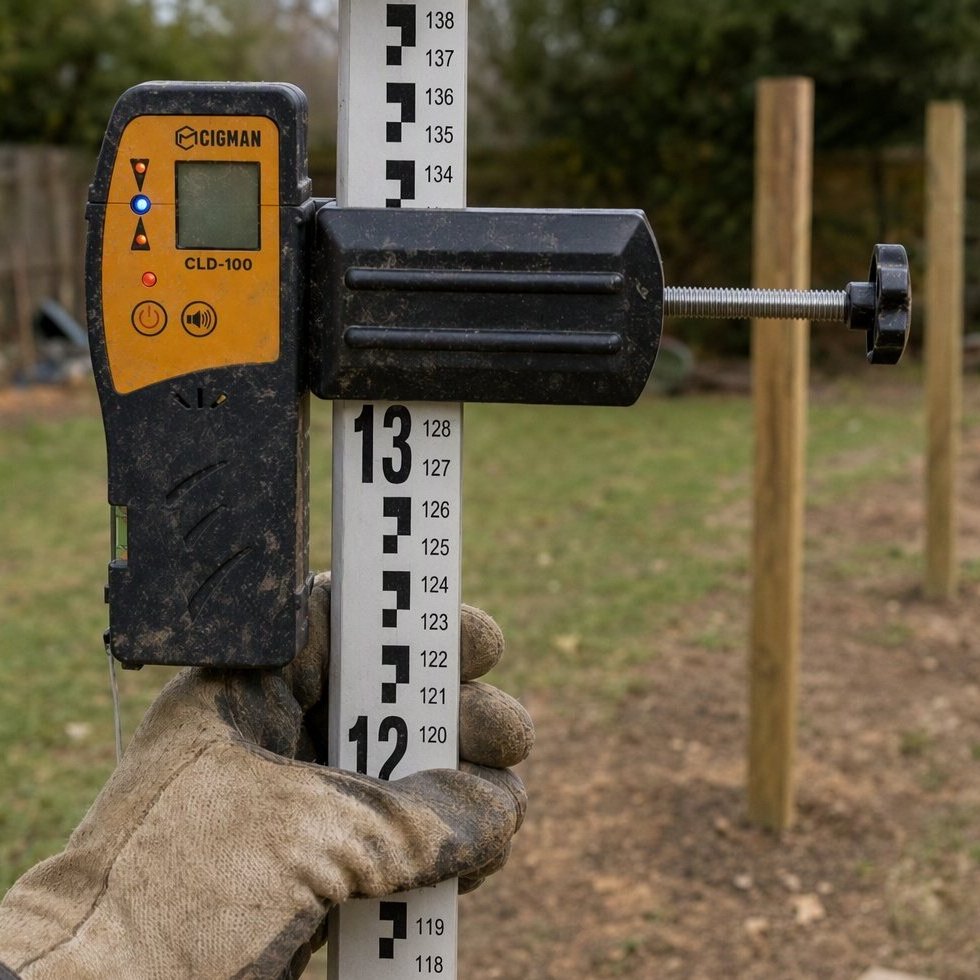
Not really. Sunlight washes out the beam on both, so outdoors you need pulse mode and a receiver either way. Both CIGMAN models have pulse mode for use with a receiver [1][2], and on the CM-701 the receiver is sold separately [1]. Grading a yard or setting forms across a job site is a different kind of work. Those jobs run long distances outside, past the 30 m a line laser like the CM-S04 is rated for [2], and that's the work a rotary laser is built for.
References
- [1] CIGMAN, "CIGMAN CM-701 3x360° Laser Level," product page. [Online]. Verified November 2026. Available: https://cigman.
com/ products/ cm- 701- laser- level - [2] CIGMAN, "CIGMAN CM-S04 16 Lines Laser Level with LCD Display," product page. [Online]. Verified November 2026. Available: https://cigman.
com/ products/ cm- s04- 16- lines- laser- level- with- lcd- display - [3] National Wood Flooring Association, "Wood Floor Facts: Concrete Subfloors," NWFA, 2020. [Online]. Verified November 2026. Available: https://nwfa.
org/ wp- content/ uploads/ 2020/ 03/ Concrete- Subfloors_ Updated. pdf



Dejar un comentario
Este sitio está protegido por hCaptcha y se aplican la Política de privacidad de hCaptcha y los Términos del servicio.