






Best Laser Level for Framing Walls
A laser level is one of the few tools that genuinely changes how fast you can work on a framing job.
Wood stud framing requires three things in alignment at once: bottom plates level, studs plumb, and top plates at consistent height. With a bubble level, you check each stud individually and recheck after every adjustment. With a laser level, you project three reference planes from one position and align the entire room without repositioning.
This guide covers which laser type works for framing, which CIGMAN model fits which job, and the setup habits that save time on real framing work.
What Framing Jobs Actually Need
Why Cross-Line Beats Single-Line for Framing
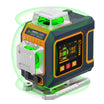
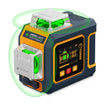
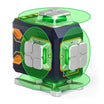
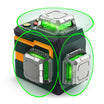
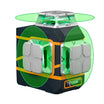
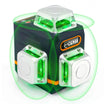
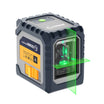
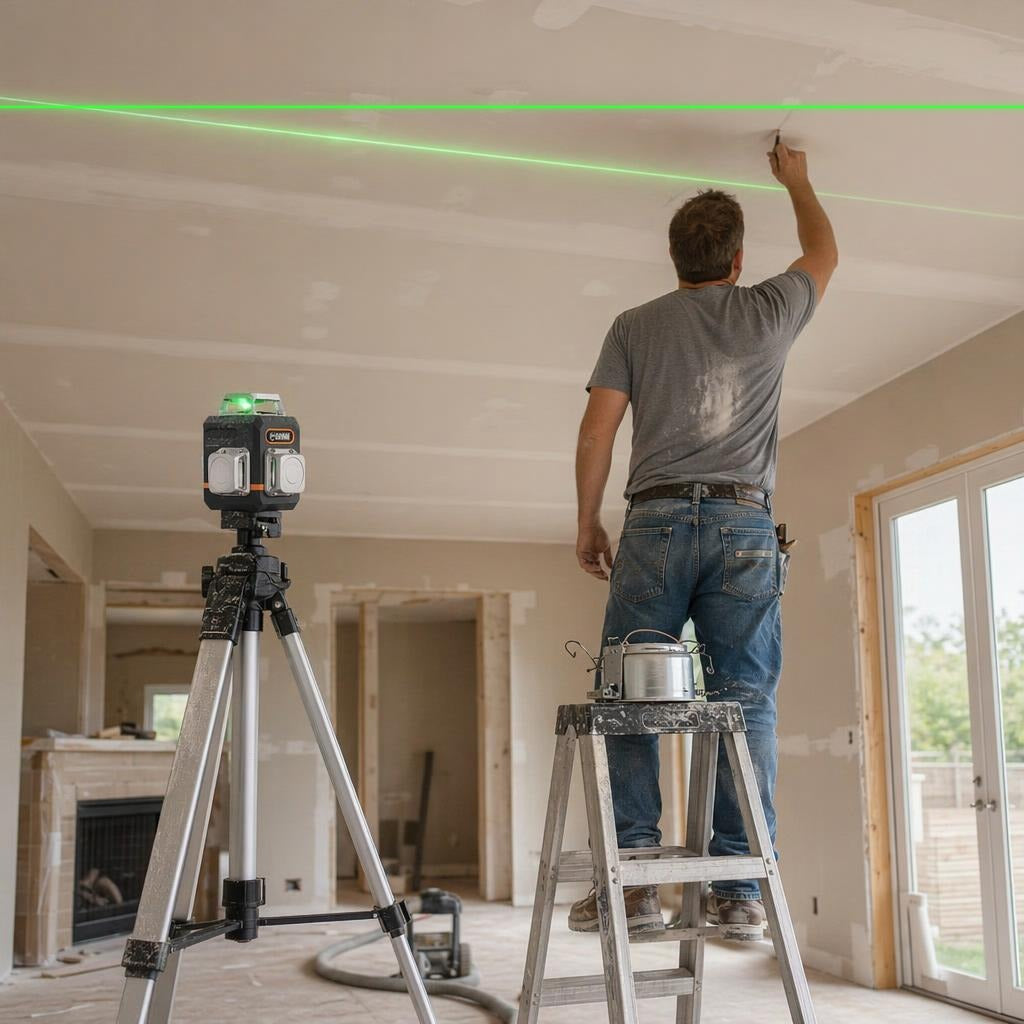
A cross-line laser projects a horizontal line for plate alignment and a vertical line for stud plumb checks simultaneously. A 3x360° model like the CM-701T projects three complete planes at once, putting reference lines on all four walls from a single setup. No repositioning between walls.
For a full breakdown of which laser type suits which project, see our laser level buying guide.
Which Lines Matter for Which Task
| Line | Framing Use |
|---|---|
| Horizontal (360°) | Level reference for bottom and top plates |
| Vertical line 1 (360°) | Plumb check on individual studs, corner alignment |
| Vertical line 2 (360°) | Opposite-wall consistency, door and window rough opening marks |
Many guides claim serious framing requires a rotary laser. For interior residential work, that's not accurate. A cross-line laser covers the entire room, sets up faster, and needs no receiver indoors. Rotary lasers justify their cost on large outdoor sites over 100 feet where a detector is required.
Which CIGMAN Model Works for Framing
| CM-G01 | CM-701 | |
|---|---|---|
| Lines | 2 (cross-line) | 12 (3x360°) |
| Coverage | Single cross point | All 4 walls simultaneously |
| Self-leveling range | ±4° | ±4° |
| Accuracy | ±0.3mm/m | ±0.3mm/m |
| IP rating | IP54 | IP54 |
| Battery | AA batteries | USB-C rechargeable |
| Price | $36.99 | $149.99 |
| Best for | Single-wall tasks, occasional framing | Full framing projects, multiple walls |
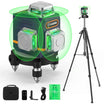
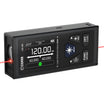
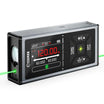
The CM-701 is the stronger choice for most framing projects. Its 3x360° projection lets you set it once and check every wall in the room simultaneously. USB-C recharging gets through a full day on the job without a battery swap, and IP54 protection holds up to construction dust and light moisture.
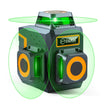
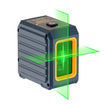
The CM-G01 handles simpler single-wall tasks well. At $36.99 it's a practical entry point, but its 2-line coverage means more repositioning on larger framing jobs.
For ceiling layout that overlaps with your framing work, see our guide on using a laser level for ceiling work.
Setup Tips That Save Time on Framing Jobs

Wood Stud Framing Setup

Position the laser in the center of the room at roughly waist height. This puts both vertical planes on opposing walls from a single position, letting you check corner-to-corner plumb without moving the laser. Mark the beam position on two opposite walls before you start cutting to confirm the laser hasn't shifted.
When laying out a long wall run, set the laser so the vertical line falls directly over your layout string or chalk line. Any stud that doesn't align with the vertical beam needs adjustment before you nail it off.
Metal Stud Framing Setup
Metal stud framing moves faster than wood because the track channel runs continuously along the floor and ceiling.
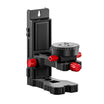
Pro Tip: Use a magnetic bracket to mount the laser directly to the metal track. It holds the unit hands-free at a consistent height along the entire run, so you can check each stud as you go without picking up and repositioning. The CM-701 is compatible with standard magnetic laser brackets.
Placing the laser on a surface that vibrates, flexes, or shifts during work moves the reference line without any visible warning. On a framing job, that means studs you think are plumb are being measured off a drifted line. Always set the laser on a solid, independent surface or a tripod.
The Specs That Actually Matter for Framing
Accuracy. Residential framing tolerances run to ±1/8 inch over 10 feet for studs and ±1/4 inch for plates. A laser rated at ±0.3mm/m (roughly ±1/16 inch at 10 feet) exceeds that standard by a factor of two. Any mid-range self-leveling laser meets the framing accuracy requirement.
IP54 dust and water resistance. Construction sites generate dust, and framing typically happens before drywall goes up. IP54 keeps dust and light moisture out of the housing. Both the CM-701 and CM-G01 carry IP54 ratings.
Self-leveling range. A ±4° self-leveling range means the laser compensates automatically when placed on surfaces up to 4 degrees off level. On a rough subfloor or uneven ground, ±4° covers most conditions without shimming the base.
Green vs red beam. Green beams are easier to see in lit interior spaces. For framing work in a room with windows or work lights, green gives you a clearer line over longer distances. For a full comparison, see our article on red vs green laser levels.
Frequently Asked Questions
Do I need a rotary laser for framing walls?
No. For interior wall framing in residential or light commercial construction, a 3D cross-line laser covers every task: plumbing studs, aligning plates, squaring corners, and marking rough openings. Rotary lasers are designed for large outdoor sites where range exceeds 100 feet and a detector is required. Inside a standard room, a cross-line model is faster to set up and easier to read.
What accuracy do I need for framing?
Residential framing tolerances run to ±1/8 inch per 10 feet for studs. A laser rated at ±0.3mm/m (roughly ±1/16 inch per 10 feet) exceeds that standard comfortably. Survey-grade precision is not needed for stud framing.
How many lines does a laser level need for framing?
At minimum, one vertical line for plumb checks and one horizontal line for plate alignment. A basic cross-line laser provides both. For full-room framing where you need to check all four walls without repositioning, a 3x360° model provides simultaneous references on every surface from a single setup.
Can I use a laser level outdoors for framing?
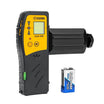
Yes, but direct sunlight makes the beam invisible to the naked eye beyond 20 to 30 feet. For outdoor framing tasks, use a laser receiver clipped to a grade rod. The receiver detects the beam with an audible signal in full daylight. Both the CM-701 and CM-G01 are compatible with standard receivers.
What is self-leveling range and why does it matter for framing?
Self-leveling range (typically ±4°) is how far off-level you can place the laser before the compensator stops correcting. On a construction site with rough subfloors, ±4° covers most conditions without shimming. Beyond ±4°, the beam blinks to warn you the laser is out of compensation range.
References
- [1] U.S. Occupational Safety and Health Administration, "Laser Hazards," OSHA. Open the laser-hazards guidance. Verified August 31, 2026.
- [2] U.S. Occupational Safety and Health Administration, "29 CFR 1926.54 Nonionizing Radiation," United States Department of Labor. Open the regulation. Verified August 31, 2026.
- [3] National Wood Flooring Association, "Technical Guidelines," NWFA. Open the technical guidelines. Verified August 31, 2026.



Dejar un comentario
Este sitio está protegido por hCaptcha y se aplican la Política de privacidad de hCaptcha y los Términos del servicio.