


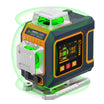
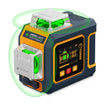
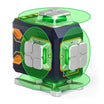
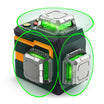
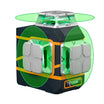
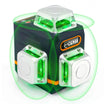
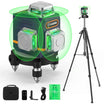



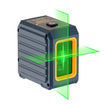



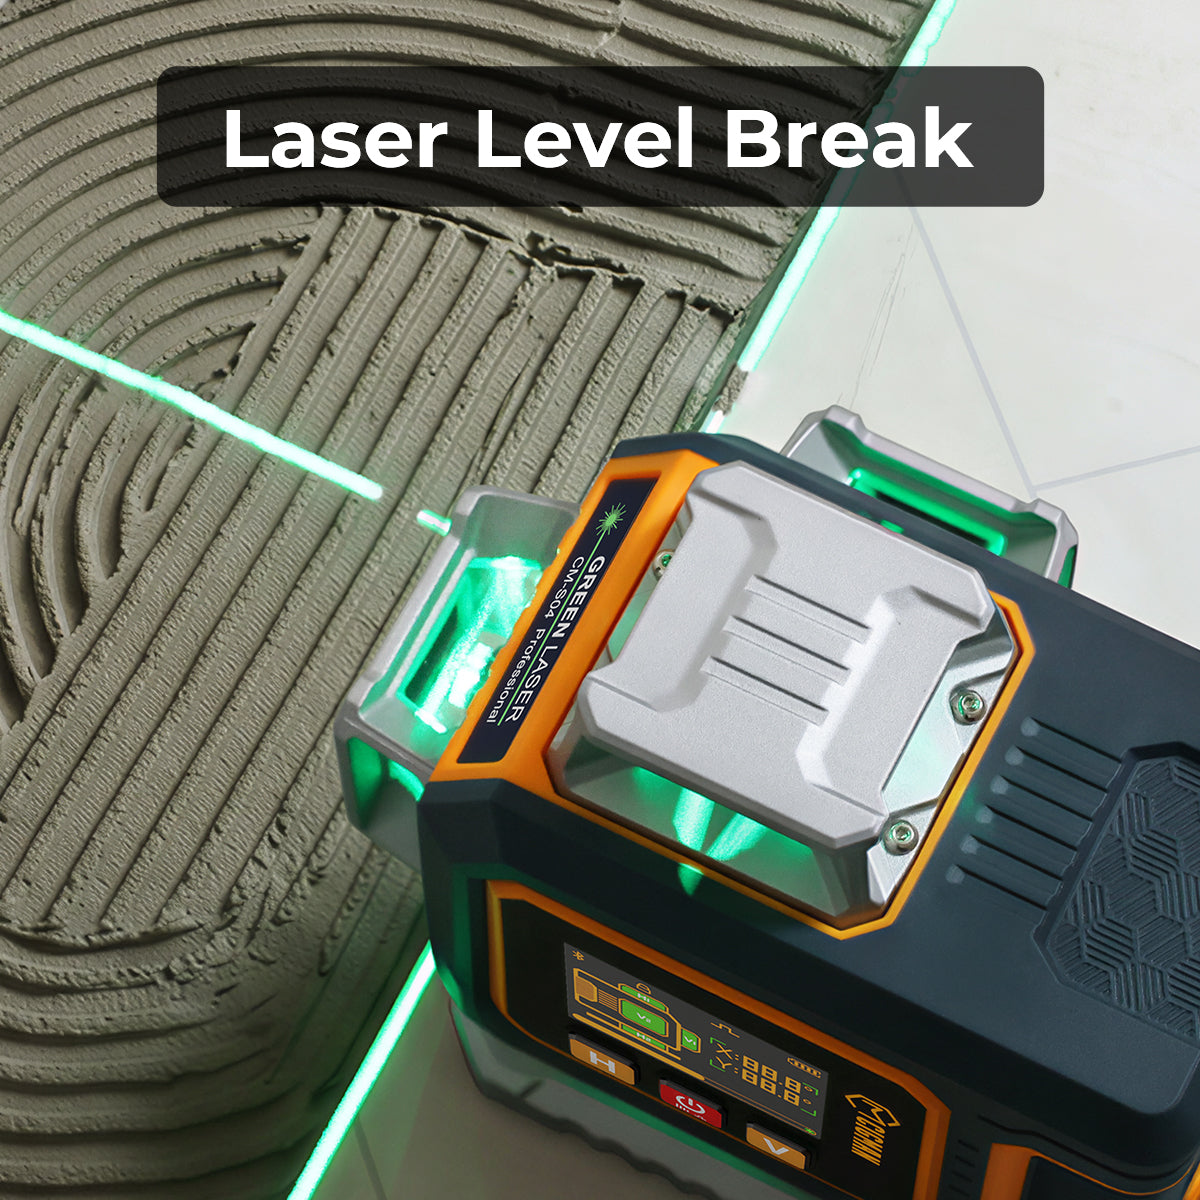
Short answer: why does my laser level line have a gap? A short gap beside the housing, mount, corner, or another object may be a hidden part of the projection. A gap that remains in clear space on a clean target needs a test before you use the line for a level or plumb mark.
This guide addresses the question behind the original casing title: is the line really broken, or can the setup hide it? You will classify the symptom, run a repeatable continuity check, and choose between a setup change and a service request.
Do not bridge an unseen section by eye. Mark only where the line or a compatible detector gives you a stable, repeatable reference. If you cannot verify the missing section, treat it as unknown.
What a Gap at the Casing Usually Means
A projected line is visible only where light reaches the target and returns enough contrast for your eyes or detector. The body of the tool, a mounting bracket, a room corner, a post, or a target surface can hide part of that path from one viewpoint. That is a practical explanation for a gap that touches the casing or changes when you move the target. It is not proof that every casing gap is intentional.
| What you see | Possible category | Next check |
|---|---|---|
| The gap is right beside the body or mount | A housing or bracket may block your view at that angle. | Change the viewpoint or put a target card on the other face. |
| The gap changes when the target moves | A corner, dust, gloss, rough texture, or another object may be hiding the light. | Use a nearby clean matte target and select one plane. |
| The gap stays in clear space on a close wall | Dirt, a damaged window, a power issue, or an alignment problem needs checking. | Power down, inspect, clean only as the manual permits, and repeat the test. |
| The case or window cracked after an impact | A drop can be followed by a misaligned line even when one line still appears. | Stop layout work and ask the manufacturer or seller for model-specific service. |
The three accessible troubleshooting pages reviewed for this article all discuss at least one of setup, visibility, self-leveling, cleaning, drops, casing damage, or testing. None gives this exact casing-edge versus open-wall decision, so the test below is the useful part of this page rather than a universal verdict.
Check the Line Before You Call It Broken
- Power down and inspect the outside. Look for a cracked window, loose bezel, dented housing, or debris over the opening. Do not press on a loose optical part or cover it with tape.
- Clean only as the manual allows. Use a clean, dry microfiber cloth on the outside and window. Do not use a solvent unless the model instructions say it is compatible with the surface.
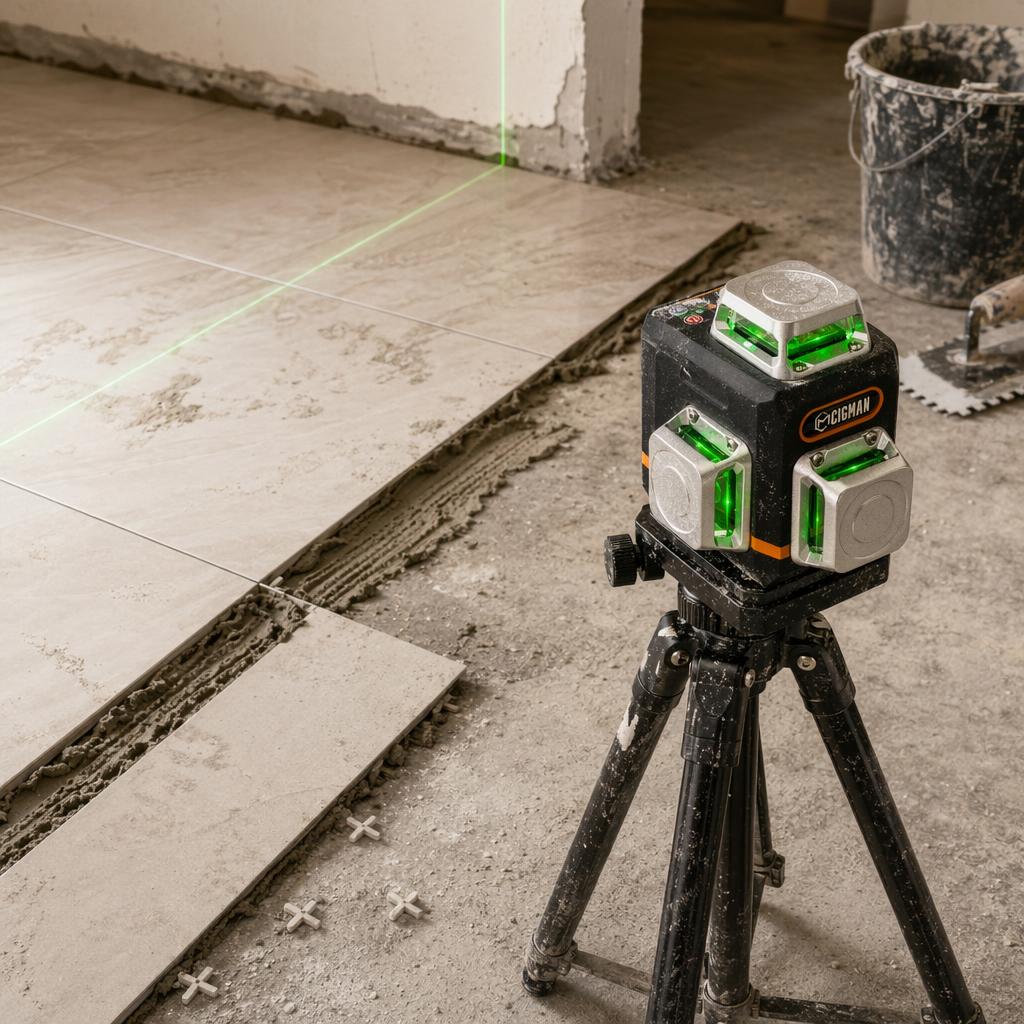
- Choose a plain target. Put the tool close to a flat, matte wall or card. Remove boxes, trim, and shiny objects from the path. A close target makes a genuine missing section easier to separate from poor contrast.
- Select one plane and let it settle. On a CIGMAN CM-701, the product page says the tool with its pendulum released self-levels within 4° ± 1° and keeps flashing beyond that range. Treat a flashing line as a setup stop, not as a mark.
- Record the gap without moving the laser. Note where it begins and ends on the wall. Then walk to the other side or move the target card while the tool stays fixed. If the gap follows the obstruction, the projection may simply be hidden.
- Compare a second plane. Turn on a vertical or horizontal plane on the same target. One plane changing while another stays continuous is useful evidence, but it is not a substitute for the model's service test.
- Use a receiver only for a compatible pulsed line. The CM-701 page says Pulse Mode can be used with a laser receiver when the beam is not visible and notes that the receiver is not included. A receiver cannot reveal light blocked by the housing or a solid object.
- Repeat after a controlled setup change. If you move the tool, make two control marks that the new position can see, re-level, and compare both marks. One mark can hide a rotation error; two marks give you a check before you continue.
Do not make a level, plumb, or layout mark while the line is moving, flashing, or partly hidden. If the same gap remains in open space after this test, stop and follow the service branch below.
When a Gap Points to Damage
A persistent gap is more concerning when it appears with other changes. Inspect the housing, window, battery compartment, moisture signs, and alignment indicators before attempting repair. Use those as inspection prompts, not as permission to open the unit.
- The gap remains on a clean matte wall at short distance and does not change with viewpoint or target.
- The window is scratched, cracked, loose, fogged, or visibly dirty after the permitted cleaning.
- The line changed after a drop, knock, transport event, or rough handling.
- The line is dim, intermittent, uneven, or accompanied by a power or battery symptom.
If one of these signs remains, record the model, serial number, selected plane, target distance, lighting, and a photo of the test. Send that record to the manufacturer or seller. Do not bend the mount, adjust an internal screw, or glue a cracked optical window. Those actions can change the reference and may affect warranty support.
The sample reviewed here supports a cautious service decision, not a universal failure threshold. If your model manual gives a specific accuracy or continuity procedure, use that procedure and keep its limits with your service record.
What to Do After a Drop or Cracked Window
- Stop the layout task. Put the tool where nobody will stare into the aperture, and inspect the outside without pressing on loose parts.
- Document the event. Write down when it fell, the surface it hit, the selected plane, and what changed. A drop is a reason to test or request service, not proof that the tool is either good or bad.
- Read the laser label. The FDA explains that higher laser classes have greater potential to cause serious injury if used improperly and that Classes II through IV carry class and output-power warnings. Follow the label and the model manual.
- Control the beam. OSHA construction rule 1926.54 says the beam must not be directed at employees and calls for shutters, caps, or turning the laser off when transmission is not required. That rule is written for construction workplaces, so homeowners should still follow the product instructions and local requirements.
- Ask for model-specific support. Include your photos and test notes. If the window or housing is cracked, do not use a household adhesive as a repair or assume that a remaining line is accurate.
Never look into the aperture, aim the beam at a person, or leave a damaged tool running unattended. Turn it off when you are not actively checking the projection.
Work Around a Hidden Section Without Guessing
When the test shows that the line is present but a corner or mount hides it, place a target card on each visible face and mark both portions separately. Move the card to the face you need instead of trying to see through the obstruction. If the bracket blocks the fan, change the mounting height or setback, then return to two existing control marks.
For a new setup, re-level the tool, project the same plane, and adjust until both control marks agree. Continue only after the reference is visible at the point where you will mark. This preserves a verified line without turning an unseen section into a guess.
For a general setup walkthrough, see laser level setup for beginners. If the line is visible but the instrument is not level, use laser level not level troubleshooting. For daylight or receiver questions, see using a laser level outdoors, and for a vertical reference see check plumb with a laser level.

CIGMAN CM-701
A three-plane reference tool for indoor layouts
- One horizontal and two vertical 360-degree planes
- Product page lists 30 m line working distance and ±1.5 mm per 5 m leveling accuracy
- Product page lists IP54 and Class II output; these specifications do not validate a dropped or damaged unit
Laser Line Gap FAQ
Is a gap in a 360-degree laser line normal?
It can be a viewing obstruction at the housing, mount, corner, or target. Change the viewpoint and target first. A gap that remains in clear space still needs a service decision.
Why does the line disappear at the casing?
The body or mount can hide part of the path from one angle. Put a target card on the other face and compare two visible control marks instead of estimating across the gap.
Can dirt or a battery problem make the line look broken?
Dirt, poor contrast, or a power symptom can change what you see. Power down, clean only as the manual permits, use a plain target, and repeat the one-plane test.
Can a receiver see through a laser level casing?
No. A compatible receiver can help detect a pulsed line when visibility is poor. It cannot detect light blocked by the tool body, a bracket, or a solid object.
What does a flashing line mean on the CM-701?
The current CM-701 page says the tool with its pendulum released self-levels within 4° ± 1° and keeps flashing beyond that range. Reposition it and let it settle before you take a reference.
Should I use a laser level after it has been dropped?
A drop does not prove the result either way. Inspect the casing and window, run a controlled continuity and accuracy check from the manual, and request service if the gap or line behavior changed.
What safety rule matters when I test a damaged unit?
Follow the product label and manual. FDA guidance explains that laser hazard increases with class and improper use. Keep the beam away from people and never look into the aperture.
References
- [1] CIGMAN, "CM-701 3x360-degree Self-Leveling Green Laser Level," CIGMAN. Open the current product page. Verified August 31, 2026.
- [2] U.S. Food and Drug Administration, "Laser Products and Instruments," U.S. Food and Drug Administration. Open the laser-products guidance. Verified August 31, 2026.
- [3] Occupational Safety and Health Administration, "1926.54 Nonionizing Radiation," United States Department of Labor. Open the regulation. Verified August 31, 2026.
Get Professional Accuracy on Every Project
The CIGMAN CM-701 3x360° Laser Level for $149.99 offers 3x360° green beam (1h + 2v), 100ft range.
Shop CM701 for $149.99 →



Dejar un comentario
Este sitio está protegido por hCaptcha y se aplican la Política de privacidad de hCaptcha y los Términos del servicio.